No edit summary Tag: Visual edit |
No edit summary Tag: Visual edit |
||
| Line 15: | Line 15: | ||
Holding [[Professor]] [[Henry Walton Jones, Senior|Henry Jones]] and [[Marcus Brody]] captive, the soldier ended up fighting the elder Jones who tried to take a gun to free himself. He managed to hold Jones in a chokehold until the soldier's face was squirted by ink shot out from Jones' pen. Blinded by the blast, the soldier was knocked unconscious by Jones. |
Holding [[Professor]] [[Henry Walton Jones, Senior|Henry Jones]] and [[Marcus Brody]] captive, the soldier ended up fighting the elder Jones who tried to take a gun to free himself. He managed to hold Jones in a chokehold until the soldier's face was squirted by ink shot out from Jones' pen. Blinded by the blast, the soldier was knocked unconscious by Jones. |
||
| − | The soldier managed to come to his senses and saw that Jones and Brody were attempting to flee the tank. The soldier managed to grab Jones and fought him again, even managing to |
+ | The soldier managed to come to his senses and saw that Jones and Brody were attempting to flee the tank. The soldier managed to grab Jones and fought him again, even managing to acquire the gun. Holding Jones at gunpoint, the soldier had the upper advantage until he was knocked out again by Brody who bashed him on the head with a tank shell. The man reflexively fired the gun and the ricocheting bullet struck the [[Hatay Tank Driver|tank driver]] dead; in the process inadvertently saving the life of the younger Jones who was hanging on for life at the edge of the tank. The still-unconscious soldier ended up losing his life when the tank plunged off a cliff at the [[Canyon of the Crescent Moon]]. |
==Behind the scenes== |
==Behind the scenes== |
||
Revision as of 22:08, 11 January 2019
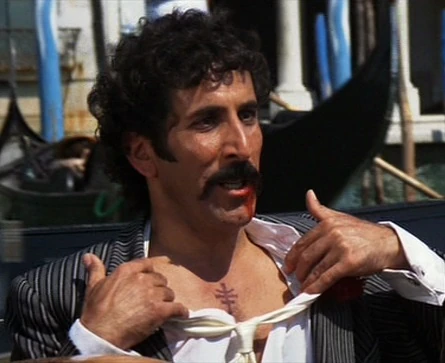
The second tank crewman was one of the many Nazi soldiers who participated in the Nazi effort to find the Holy Grail in 1938. He served aboard a tank commanded by Colonel Ernst Vogel.
Biography
Holding Professor Henry Jones and Marcus Brody captive, the soldier ended up fighting the elder Jones who tried to take a gun to free himself. He managed to hold Jones in a chokehold until the soldier's face was squirted by ink shot out from Jones' pen. Blinded by the blast, the soldier was knocked unconscious by Jones.
The soldier managed to come to his senses and saw that Jones and Brody were attempting to flee the tank. The soldier managed to grab Jones and fought him again, even managing to acquire the gun. Holding Jones at gunpoint, the soldier had the upper advantage until he was knocked out again by Brody who bashed him on the head with a tank shell. The man reflexively fired the gun and the ricocheting bullet struck the tank driver dead; in the process inadvertently saving the life of the younger Jones who was hanging on for life at the edge of the tank. The still-unconscious soldier ended up losing his life when the tank plunged off a cliff at the Canyon of the Crescent Moon.
Behind the scenes
The second tank crewman was played by the late stuntman Tip Tipping in Indiana Jones and the Last Crusade. Tipping also played another Nazi soldier before the Tank Chase in the same film and had previously provided stunts for Indiana Jones and the Temple of Doom.
As with most of the Mark VII Tank's crew, the second tank crewman is absent from LEGO Indiana Jones: The Original Adventures and its sequel. Instead, Vogel alone controls the entire tank.